Set the camera up in the app while it is still on the ground. Charge it fully if it runs on a battery. Then carry it to the spot you want, check the Wi-Fi there, and only then drill. Reolink says so in plain words: "Please complete the initial setup of the camera before installation." The quick start guides from eufy and TP-Link's Tapo put setup first too.
For a battery camera, the three guides here call for about 2 to 3 meters of height, angled so people walk across its view rather than straight at it. A plug-in camera is different. It has no motion-sensor height rule, but it needs a safe path to an outlet.
This guide compares the install instructions for four outdoor Wi-Fi cameras GearExplained has covered: the Reolink Argus 4 Pro and Altas PT Ultra, the eufy SoloCam S340 and the TP-Link Tapo C120. It is AI-generated from those manufacturers' documents. GearExplained did not install or test these cameras. If you own a different model, its quick start guide wins wherever it disagrees with this page. The product cards at the end link to Amazon, and GearExplained may earn a commission. That did not decide which cameras appear here. For doorbell wiring, see our guide to video doorbells without a subscription.
The four install guides side by side
| Camera | Power | Wi-Fi | Height in the guide | Mounting parts in the box | Drill bit named |
|---|---|---|---|---|---|
| Reolink Argus 4 Pro | Built-in battery, solar panel optional | 2.4GHz or 5GHz, 5GHz recommended | 2 to 2.5 meters | Bracket, mounting plate, hole template, screws, drywall anchors | Not stated |
| Reolink Altas PT Ultra | Built-in battery, solar panel optional | 2.4GHz or 5GHz | 2 to 3 meters | Mounting bracket, hole template, long and short screws, wall anchors, strap | Not stated |
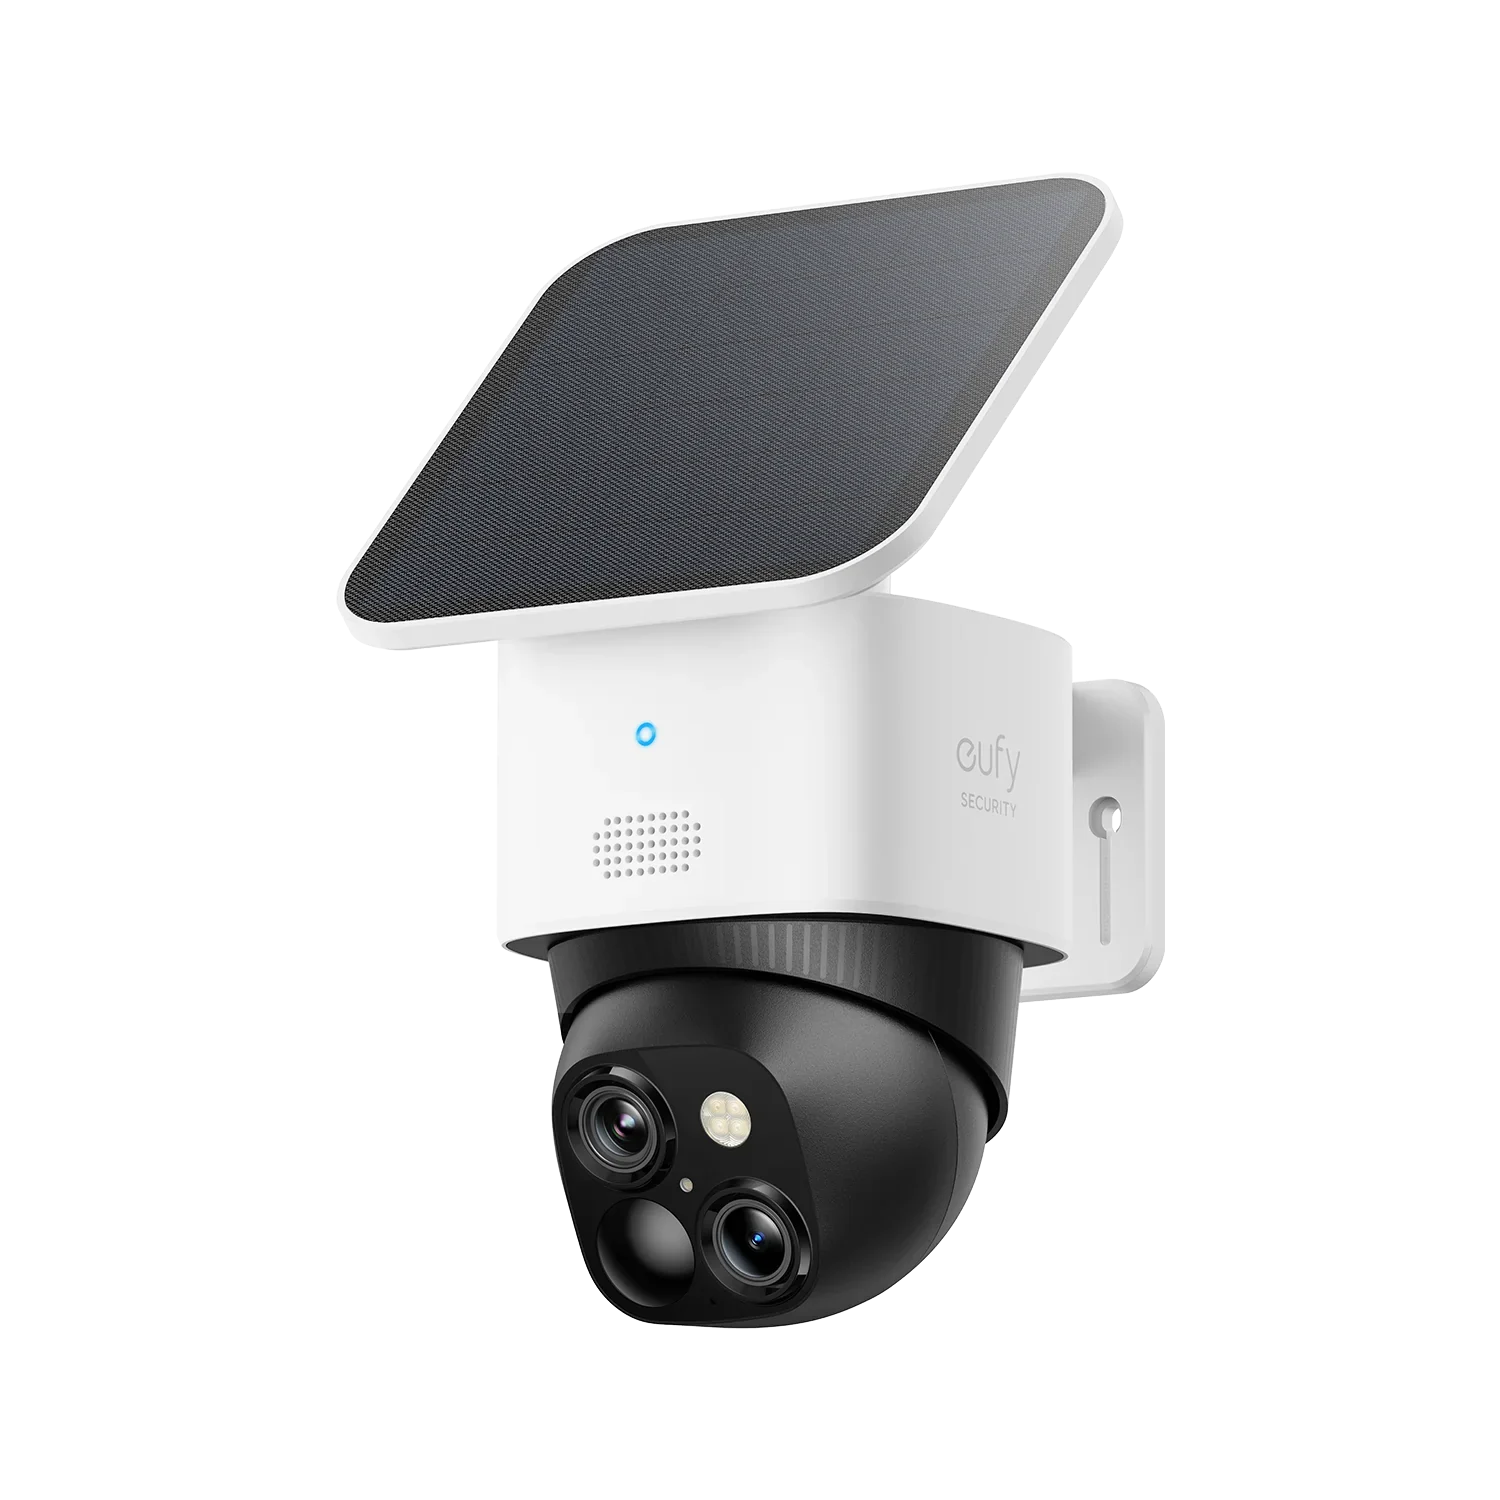
| eufy SoloCam S340 | Built-in battery and solar panel | 2.4GHz only | 2 to 3 meters, 7 to 10 feet | Bracket, positioning card, anchors, USB-C extension cable for the panel | 15/64 inch, 5.95mm |
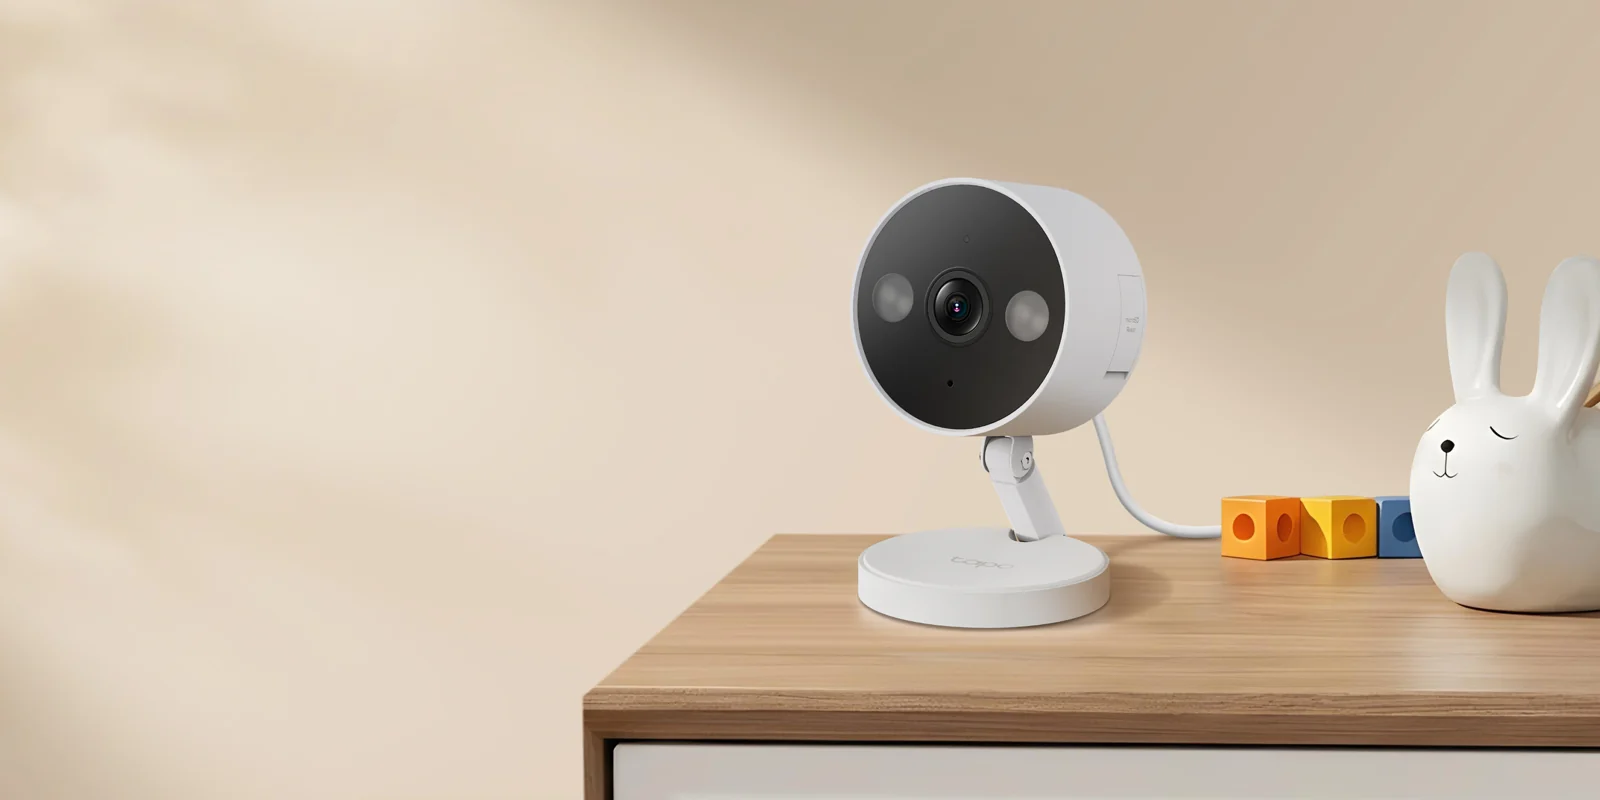
| Tapo C120 | Plug-in, USB power adapter | 2.4GHz only | No more than 2 meters when held by its magnet | Template sticker, metal plate, 4 anchors and screws, 3M adhesive, 2 cable organizers | 6mm, 15/64 inch |
Sources for each row: Reolink's Argus 4 Pro guide, Reolink's Altas PT Ultra guide and product page, eufy's S340 quick start guide and product page, and Tapo's C120 quick start guide and product page.
1. Set it up and charge it before you climb
Reolink's guides for both cameras start with the app: power on, scan the QR code, then finish Wi-Fi setup with Bluetooth on your phone. The Argus 4 Pro guide also says, "It's recommended to fully charge the camera before installing it." eufy's S340 guide says to fully charge before first use and lists an 8 hour charge time on a 5V/2A supply. Tapo's C120 guide numbers setup as step one and installation as step two.
Reolink's Altas PT Ultra guide plans around that order. The camera has a second QR code on its underside for setting it up again once it is installed. Doing the first setup on the ground means you pair it with the box in your hands, not from a ladder.
Some general how-to pages run the other way. Bob Vila's 13-step guide mounts the cameras in steps 3 to 5 and connects them to the home network in step 8. The manufacturers above put that connection first.
2. Check Wi-Fi and power at the spot
Two of the four cameras join 2.4GHz Wi-Fi only. eufy lists the S340 as 2.4GHz only, and Tapo says the C120 does not connect to 5GHz. Both Reolink models list 2.4GHz and 5GHz, and the Argus 4 Pro guide recommends 5GHz for a better connection.
Before drilling, Reolink's installation blog suggests taking your phone to the exact mounting spot and checking the Wi-Fi signal there. Its installation tips say to mount a camera "well within the coverage of your wireless network" and to keep it at least 1 meter from routers and phones to avoid interference. If the signal outside is weak, our guide to mesh Wi-Fi vs an extender covers the fixes.
Power is the other check, and it is where a plug-in camera takes the most planning. Tapo's C120 guide says the "adapter should be used indoors" and should be easy to reach. The camera itself is rated IP66 for outdoor use, and its US page lists a 9.8 foot power cord. So the cable has to reach from the camera to an indoor outlet. A battery camera skips this, but it still has a charging port to seal. Reolink tells you to cover the Argus 4 Pro's and Altas PT Ultra's USB-C ports with their rubber plugs after charging.
3. Pick the height and the angle
The battery cameras' height advice comes from their motion sensors. Reolink's guides say 2 to 2.5 meters for the Argus 4 Pro and 2 to 3 meters for the Altas PT Ultra, because that height "maximizes the detection range of the PIR motion sensor," which they give as 2 to 10 meters. The Argus 4 Pro guide prints "7-10 ft" beside its metric figure, but 2.5 meters is about 8.2 feet. Go by the meters. eufy recommends 7 to 10 feet, or 2 to 3 meters, for the S340.
Angle matters as much as height. Reolink's guides warn that "if a moving object approaches the PIR sensor vertically, the camera may fail to detect motion," and its tips page says its PIR sensors are more sensitive to side-to-side movement. eufy gives the same advice in its own words: do not point the S340 straight at the area you want to watch. In practice, mount the camera to one side of a path or door so people cross its view.
The plug-in C120 has a different limit. Tapo's guide says: "When mounting the camera magnetically, we recommend installing it no higher than 2 meters." That covers its magnetic base on a metal surface, on the adhesive metal plate and on the screwed-on plate. Tapo also gives a mount without the plate: drill one hole and fix the camera with one anchor and one screw. For its own PoE and plug-in Wi-Fi cameras, Reolink's tips page says there are "no specific restrictions on height." The aim is good detection, and it says cameras with smart detection should not look straight down at the ground.
Reolink's tips page lists places to avoid, mostly to cut false alerts:
- Facing sunlight, bright lamps, a mirror or glass.
- Near air conditioner or other vents.
- Close to busy traffic. Reolink recommends keeping 15 meters from places where many vehicles pass.
eufy adds bright outdoor lights to that list for the S340, because they can interfere with night vision.
4. Mount the base
Each camera comes with a hole template or positioning card. Mark the holes with it rather than measuring by eye.
- Reolink Argus 4 Pro. Twist the base off the bracket, screw the base to the wall or ceiling using the template, then reattach the bracket. Reolink says to use the included drywall anchors if needed. Its guide also shows a tree mount, with a strap threaded through the bracket's mounting plate. (Reolink support)
- Reolink Altas PT Ultra. Drill to the template and drive four long screws. On a hard wall, put the wall anchors in first. It also has a strap for trees. (Reolink support)
- eufy SoloCam S340. Drill with a 15/64 inch, 5.95mm, bit using the positioning card, then insert the anchors. (eufy guide)
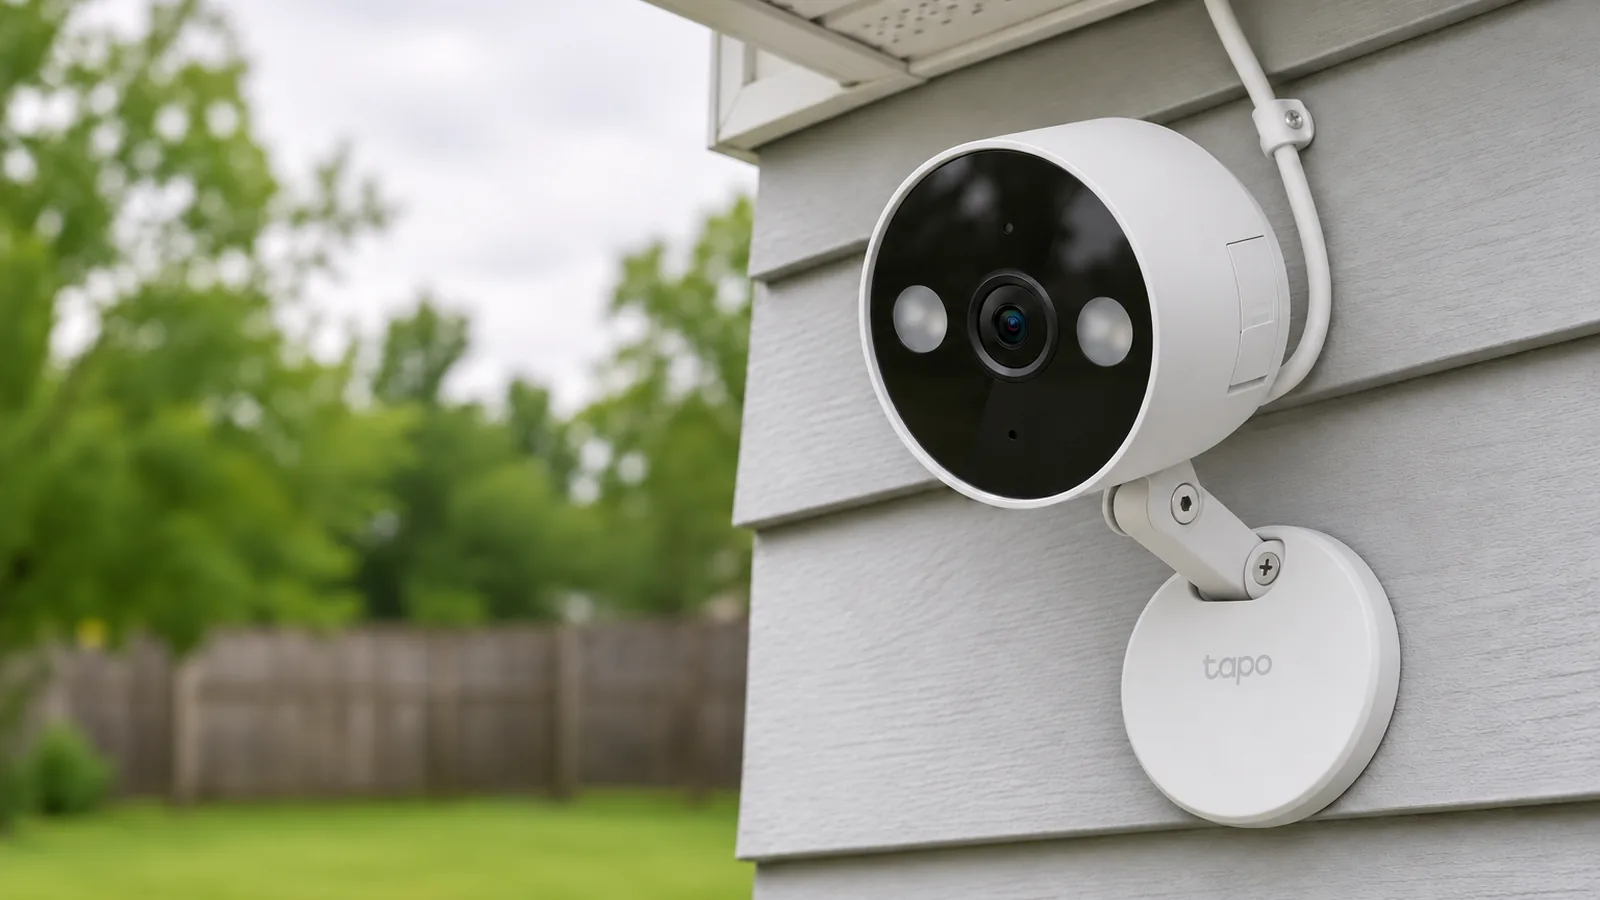
- Tapo C120. Stick on the template and drill two 6mm, 15/64 inch, holes. Fit two anchors and screw the metal plate over them, then let the magnetic base grip the plate. On tile, glass, marble, metal or another hard, clean wall you can stick the plate on with the 3M pad instead. Press for 15 seconds, and use the pad once only. (Tapo guide)
The manufacturer documents cited here don't cover wiring behind the wall, or drilling into brick. General guides do. Bob Vila mentions masonry bits or a hammer drill for brick, and caulk around exterior brackets.
5. Attach, aim and lock the camera
The Argus 4 Pro twists clockwise into its bracket. Aim it, then turn the marked part of the bracket clockwise to lock the angle. Turn it the other way to adjust later. The Altas PT Ultra sits on its base and two short screws go into the base and the side of the camera. eufy says to secure the S340 firmly onto its bracket.
The C120 sits on its plate by magnet. Tapo says to plug the USB-C connector in firmly with no gap, then fix the cord with tape or the included cable clamp and screw about 25 cm from the connector.
With the camera in place, open its live view in the app before you put the tools away. Bob Vila's guide has you check the cameras in the app before the final tightening. Walking across the area you want covered is a simple way to see whether motion starts a recording before the ladder comes down.
6. Place the solar panel, if there is one
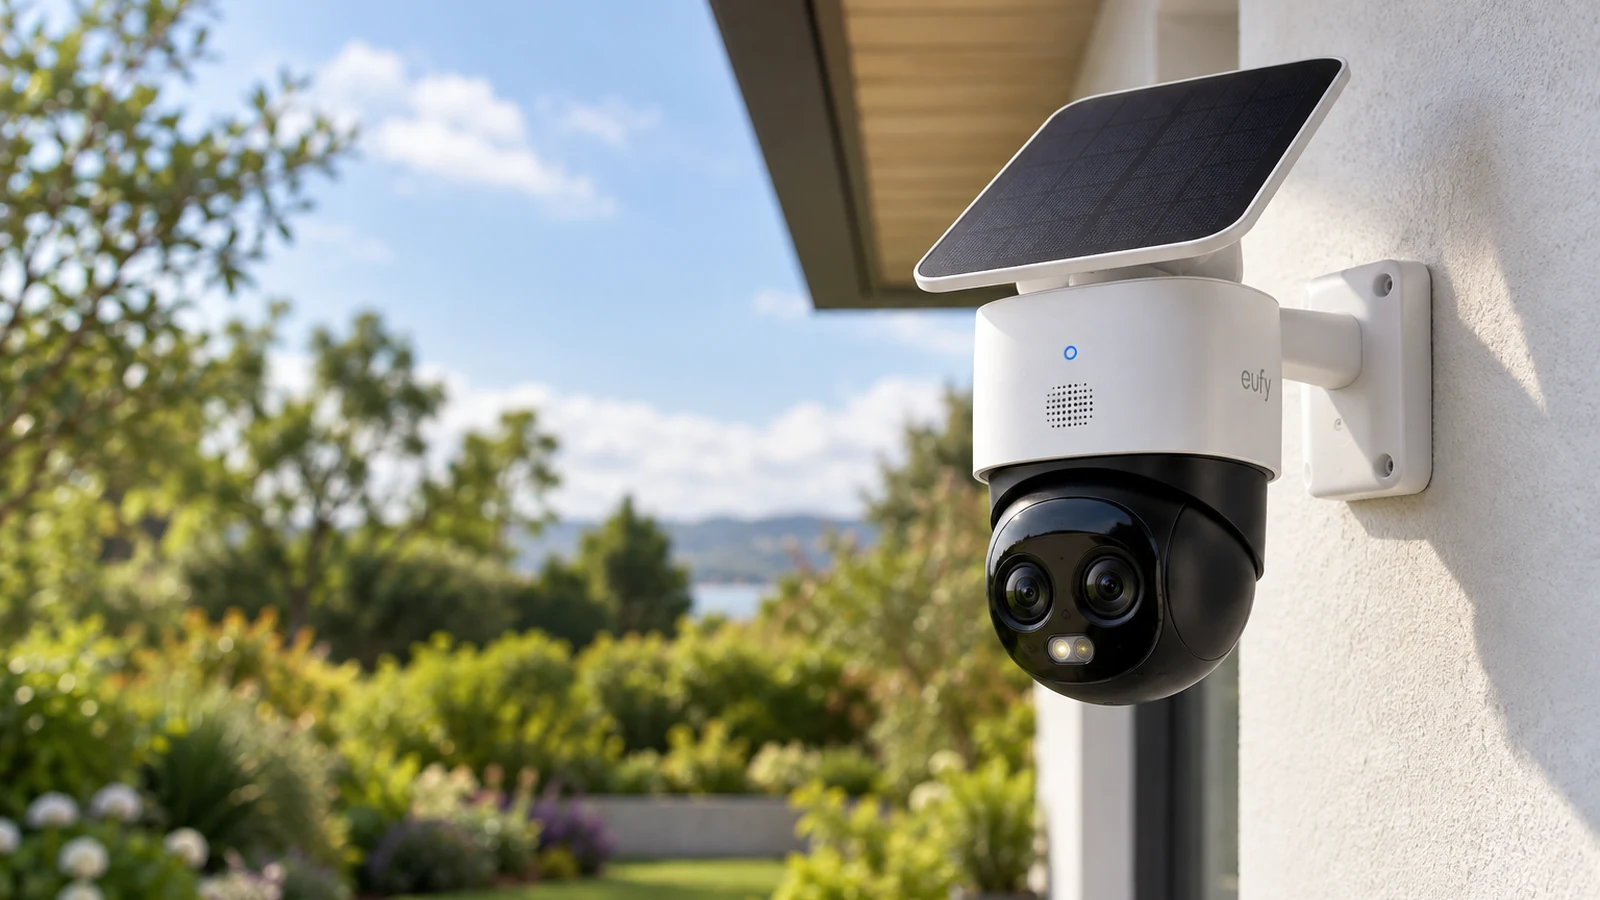
eufy gives two layouts for the S340. If the camera's spot gets sun, mount the panel on top of the camera, which means less drilling. If the camera sits in shade, mount the panel separately in the sun and run the included USB-C extension cable to the camera. eufy recommends tilting the panel 20 to 30 degrees, at least 3 to 4 hours of direct sun a day, and, in the US, facing it south. (eufy guide, eufy advice)
Reolink's solar panel is not included when you buy the Argus 4 Pro or Altas PT Ultra on its own, and Reolink points to the panel's own instructions for mounting it. The Argus 4 Pro guide also says not to charge it with another brand's solar panel.
Which steps change with your camera
If your camera has a battery, the height and angle rules come from its PIR sensor. Mount it 2 to 3 meters up, or 2 to 2.5 for the Argus 4 Pro, and to one side of the path. If it plugs in, start from the outlet. Check that the cable reaches and that the adapter stays indoors, then mount within the limits of its base. Either way, set it up in the app first, check Wi-Fi at the spot, and test the live view before you climb down. For which outdoor camera to buy in the first place, see our guide to outdoor security cameras without a subscription.
Sources
- Reolink, How to Install Reolink Cameras
- Reolink, Reolink Camera Installation Tips
- Reolink, Argus 4 Pro Operational Instruction
- Reolink, Reolink Argus 4 Pro
- Reolink, How to Install Reolink Argus 4/Argus 4 Pro
- Reolink, Reolink Altas PT Ultra Operational Instruction
- Reolink, How to Install Reolink Altas Series Cameras
- Reolink, Reolink Altas PT Ultra
- Reolink, How to Install and Set Up Wireless Security Cameras
- eufy, SoloCam S340 Quick Start Guide
- eufy, SoloCam S340 installation advice
- eufy, eufy SoloCam S340
- TP-Link, Tapo C120 Quick Start Guide (US)
- TP-Link Tapo, Tapo C120
- Bob Vila, How to Install Security Cameras: 13 Steps
All sources were checked on November 6, 2026.